MISUMI fluid power partner and expert Brennan Industries is back with some tips on how to measure fitting threads. The precise identification of fluid line connectors is critical before selecting and installing the correct fittings. This post will cover some of the most common hydraulic fluid transfer, piping, and instrumentation systems and how to measure them in the field.
How to Measure Threads
1.) First, use a combination of O.D./I.D. caliper to measure the thread diameter. Note: The threads of a used fitting can become worn and distorted, so the measurements may not be exact.

2.) Second, use a thread pitch gauge to identify the number of threads per inch. For metric connections, measure the distance between threads. Place the gauge on the threads until it fits snugly and match your measurements with a thread chart.
3.) Third, if the port is angled, determine the seat angle by using a gauge on the sealing surface. The centerline of the fitting and the gauge must be parallel.
Measuring Tools
By using a combination of three tools, identifying connectors is easy to do. Using an I.D./ O.D. caliper, thread pitch gauge, and seat angle gauge allows you to make accurate measurements of most connections. Many thread ID calipers provide both a caliper and a seat angle gauge in one tool.
The I.D./O.D. caliper is used to measure the O.D. of a male thread and I.D. of a female thread. (Important: When matching gauge measurements to thread charts, keep in mind that threads on connections that have been in-service may be worn and distorted from use, causing inexact comparison to the thread tables.

For English, British, and other European threads, the thread pitch gauge measures the threads per inch. However, for metric threads, the gauge will identify the distance between the threads.
The seat angle gauge is used by placing the gauge angle on the sealing surface. The centerline of the fitting end and the gauge should be parallel. In the English system, the thread size and pitch (number of threads per inch) are given, along with the thread type.
Measuring Threads
Using the thread pitch gauge, align the gauge on the threads and make sure it is snug. Match the measurement to the thread chart. Then measure the thread diameter with the I.D./ O.D. caliper.
Measuring Sealing Surface Angles
Female connections are measured by inserting the ID portion of the gauge into the connection on the sealing surface. Be sure the centerlines of the connection and gauge are parallel to identify the correct angle. For male flare type connections, place the gauge on the sealing surface to establish the measurement. Again, be sure the centerlines of the connection and gauge are parallel to identify the correct angle.
This post is an excerpt of Brennan’s Thread ID & Measurement Guide that you can order at this link for free!
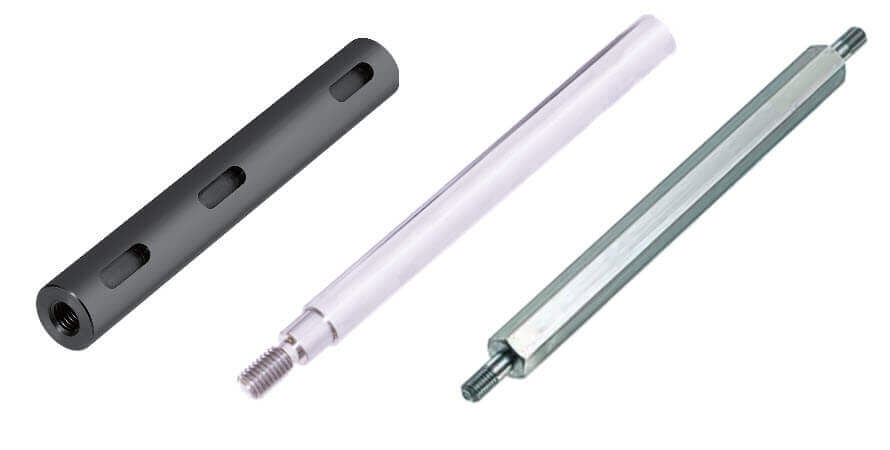
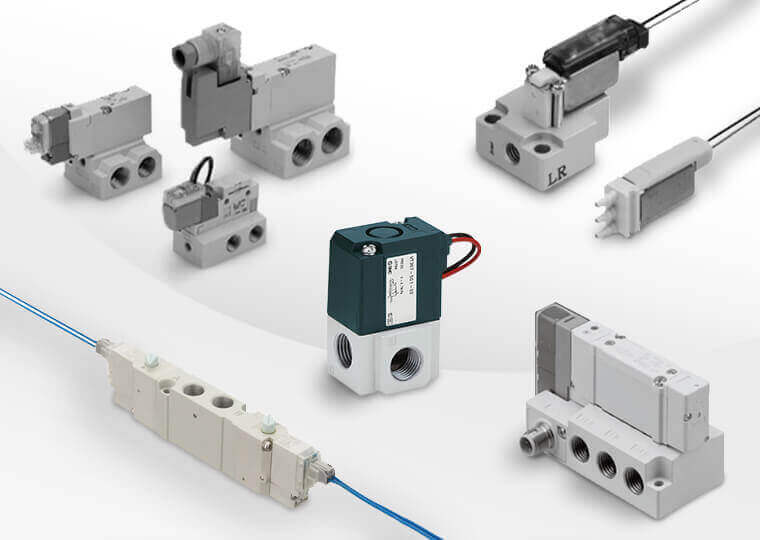
Be sure to check out the line of Brennan components on MISUMI’s website.